Getting Started with HtmlEditor Control
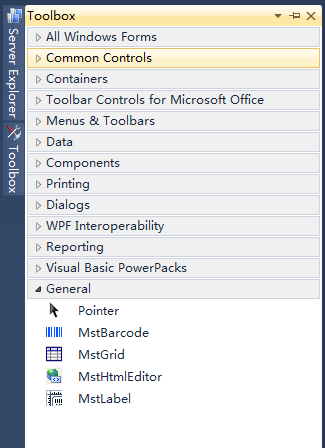
Once you have downloaded the component, you just need to add the control to your
Visual Studio Toolbox,
drag and drop an instance of the control to your Windows
Form and you are ready to go.
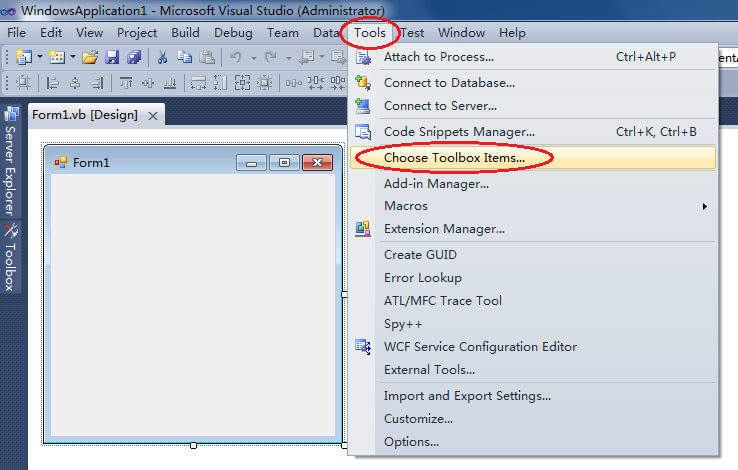
1. Within your Visual Studio, please select the following menu Tools -> Choose Toolbox Items.
2. Once the "Choose Toolbox Items" dialog box appears, select the ".NET Framework Components" tab.
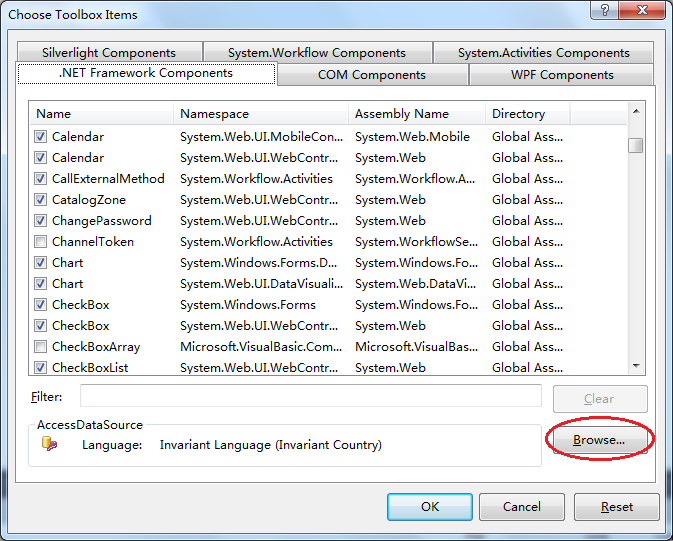
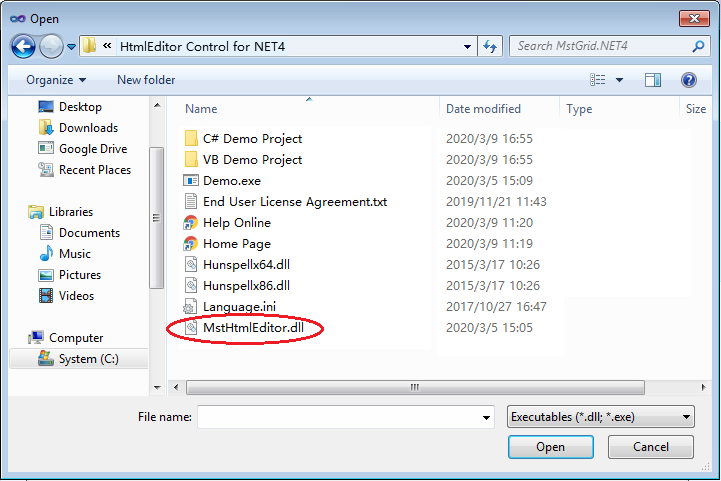
3. Click the "Browse" button and then select the DLL under your installation directory.
4. Once you select the DLL, ".NET Framework Components" tab will be populated
with this new control
and it will be selected automatically.
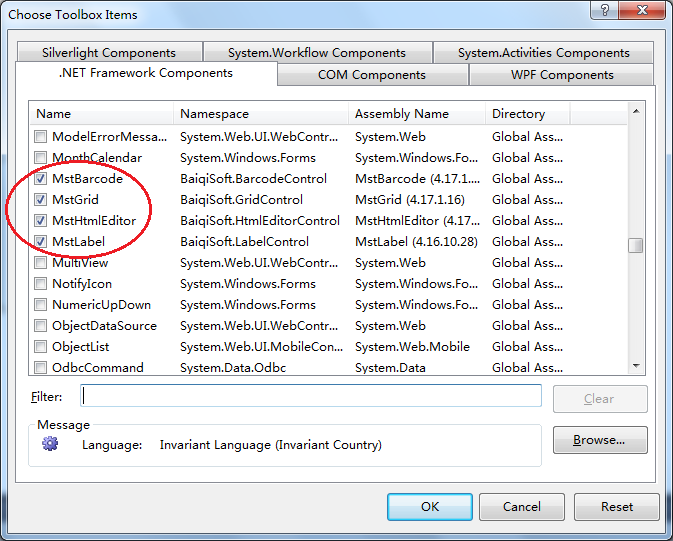
5. Click the "OK" button to finally add this control to your toolbox.